TURNER TECH
KEEP THAT RIDE RUNNING SMOOTH
A BASIC GUIDE FOR UNDERSTANDING YOUR TURNER
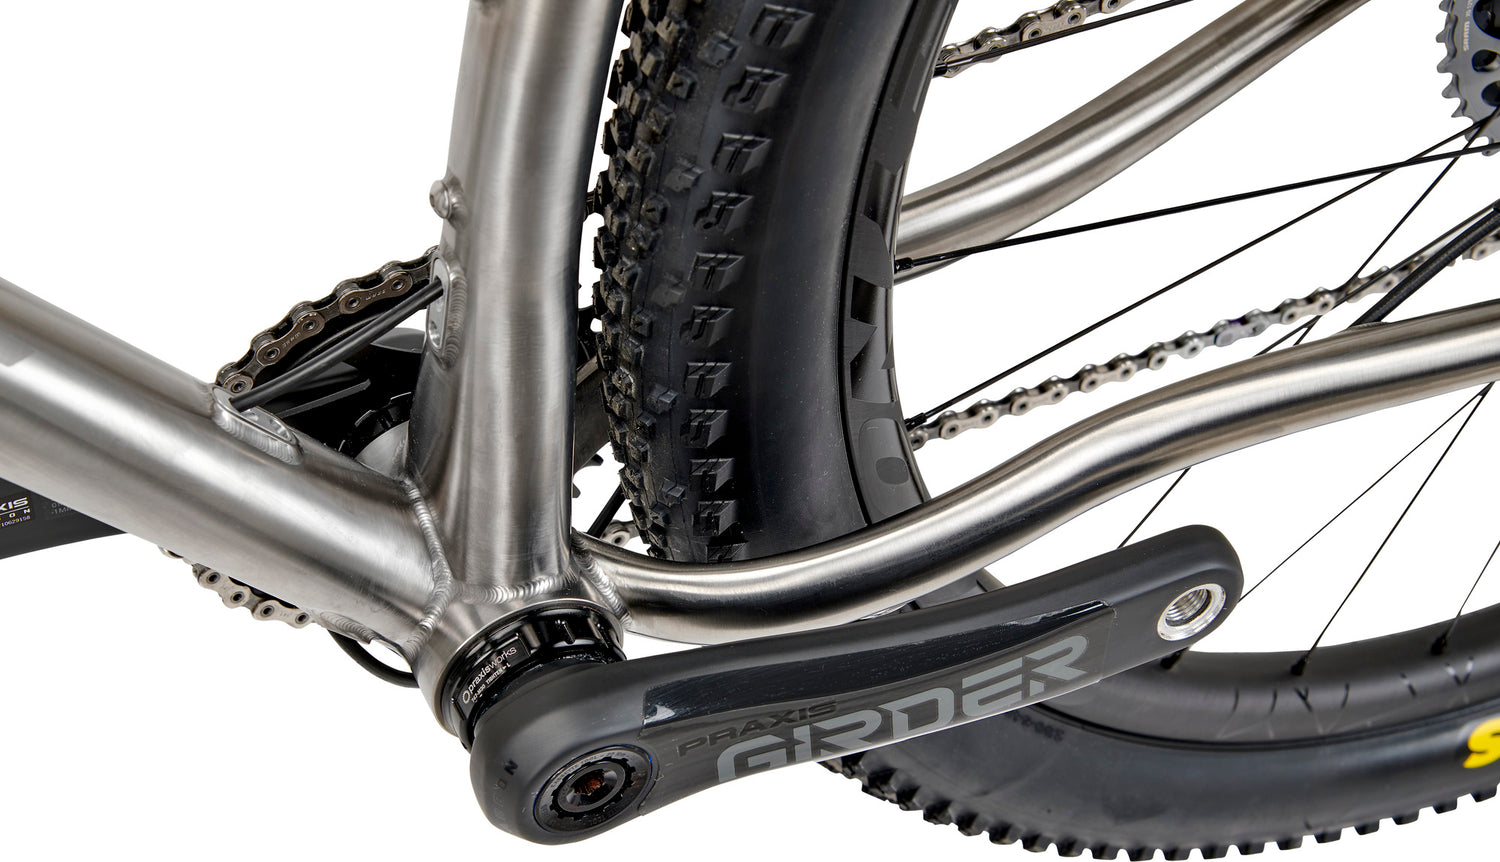
Check Your Tire Pressure.
And be diligent about this. Tire Pressure plays a very important role in how your bike will ride and perform. Traction is everything!
Tip: Different weather conditions, change in rider weight, change of terrain, altering your normal food, water and gear load, should always be taken into account when setting your tire pressure.
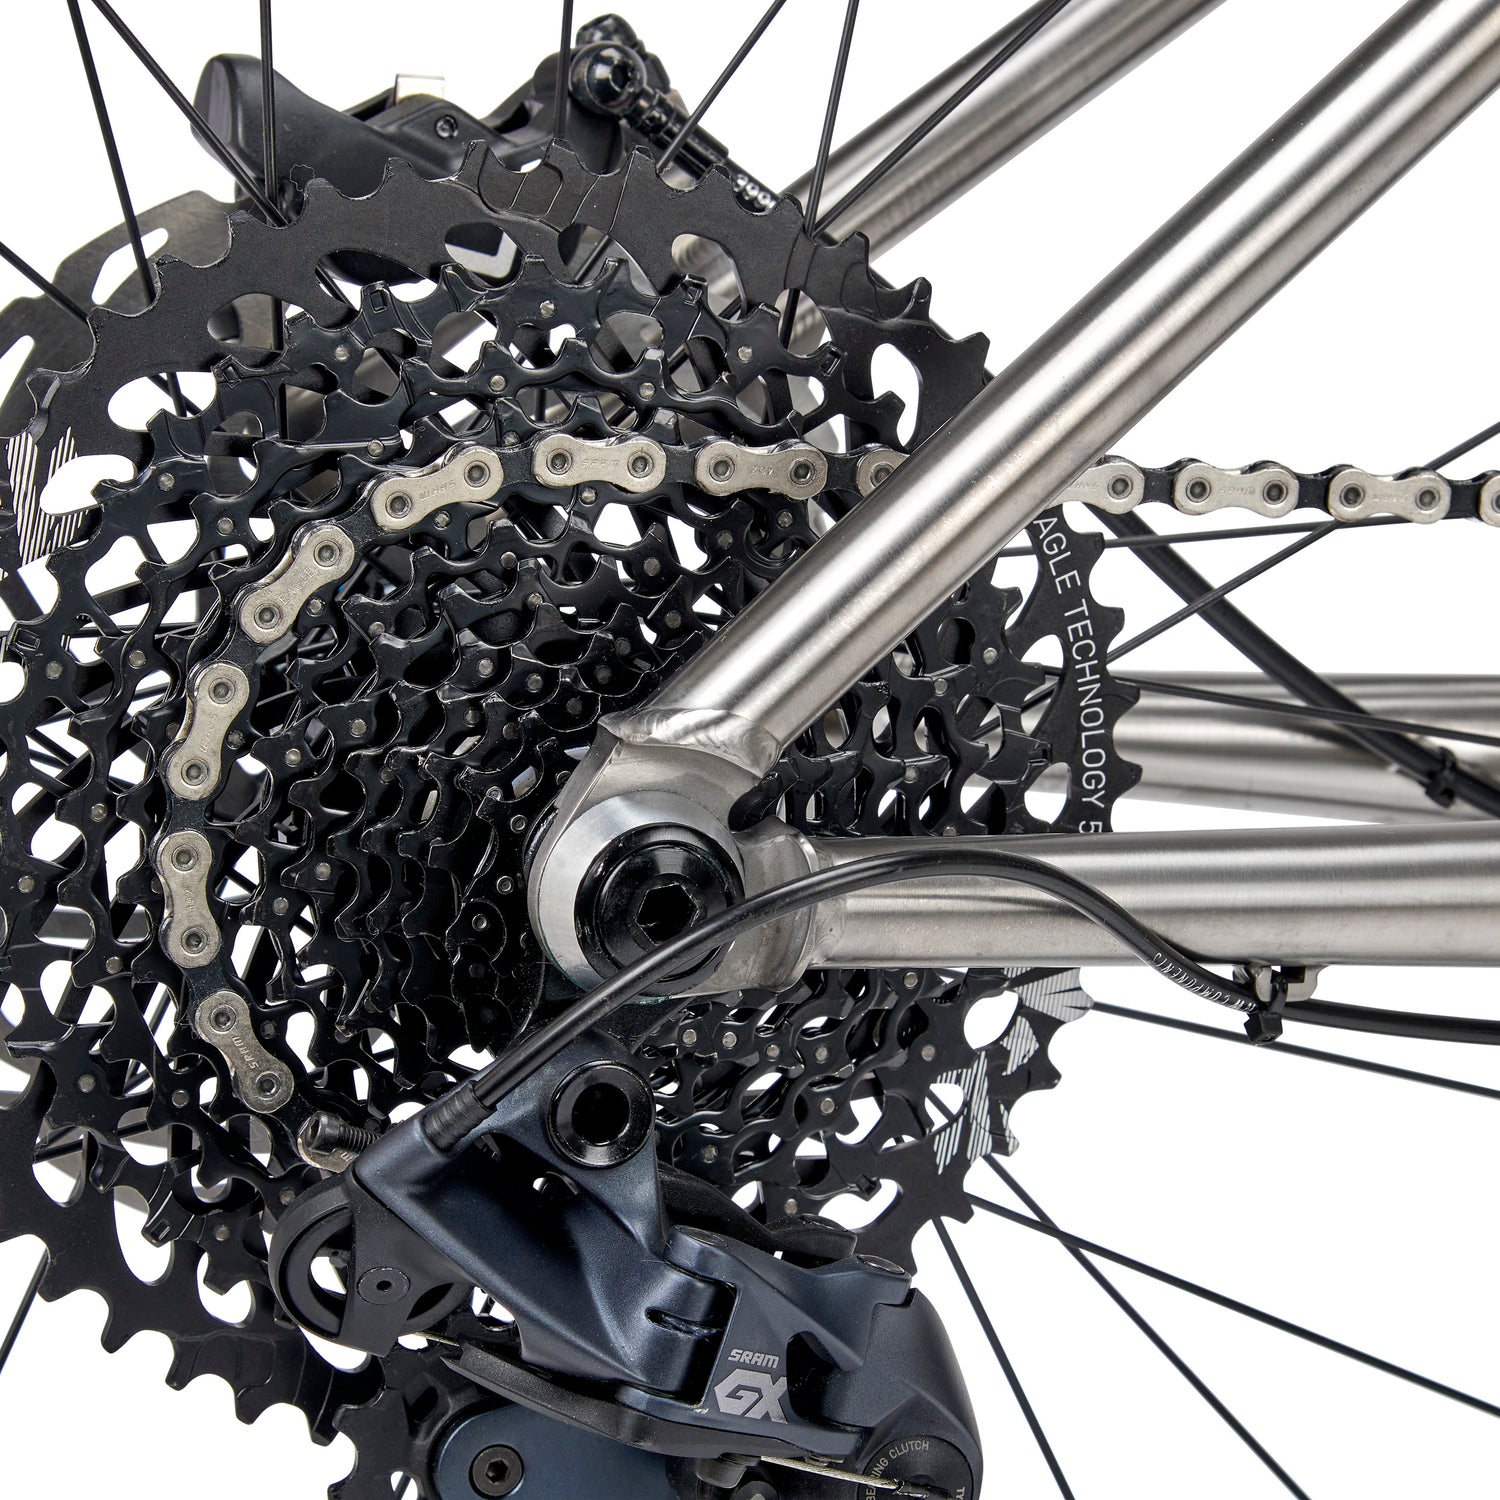
Lube Your Chain.
Chainrings and cassettes are expensive! A Clean, lubed drive train will last longer. After you ride, use a stiff plastic bristle brush to scrub your complete drive train. Then apply lube after you ride so the chain can dry completely before the next use. In dry conditions, wipe the outside of the chain clean before each ride. Lube is only needed inside the chain links.
Tip: Proper bike maintenance is crucial to the performance and long life of your bike. Every few weeks (more often if putting in a lot of hard rides)use the Park Chain Checker or equivalent tool on your chain. Cassettes are worn out by the aging chain! Discard a worn chain before it has time to ruin a cassette. Every 6-8 weeks check suspension pressure, and your brake pads. Every 8-12 weeks add an ounce or two of sealant. Every 12 months change your shift/dropper housing and cables.
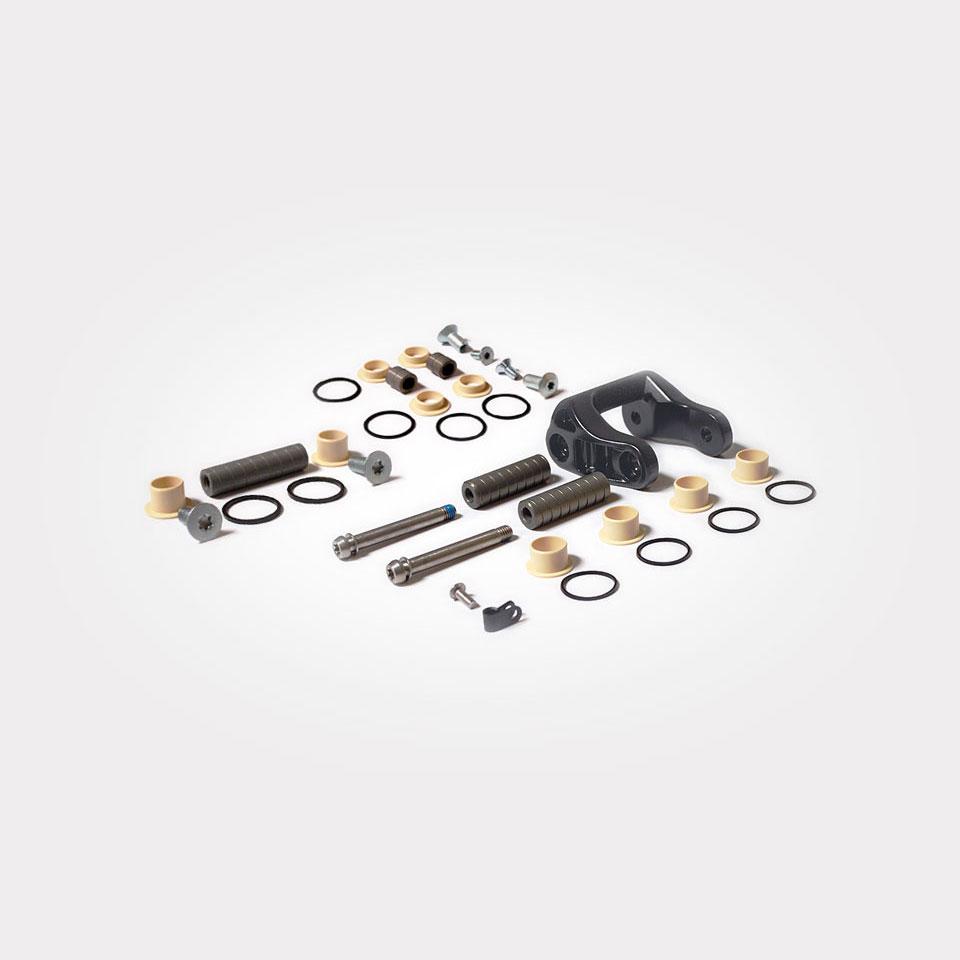
Check Your Pivot Bolts.
Every couple of months, use a Torque Wrench to check each of the pivot bolts. Actually you should check ALL of the bolts on your bike. Refer to the parts makers web sites for torque settings for your particular bar, stem, levers, clamps etc.
Do not perform bolt checks unless you have a Torque Wrench.
Continued overtightening of bolts will result in bolt failure and possible injury, which will NOT be covered under any warranty.
If you do not have a torque wrench, today is a great day to buy one.
Air Shock Setup
To properly set-up your Turner’s air shock, first find your ‘Ready-to-Ride weight’. Your ‘Ready-to-Ride weight’ is how much you weight with all of your riding gear on, that includes helmet, water and spare tube as well.
Remember, if you change your gear, you’re changing your ‘Ready-to-Ride Weight’.
TIP: You should check the air pressure in your shock and fork every 6-8 weeks! They will lose air pressure over time, don't let that impact your ride quality.
To start, make sure the compression and rebound settings are fully open.
Find a stable surface to lean on, then mount your bike with all of your riding gear on. It may help to lower your seat slightly so you can easily reach the ground while sitting. Then bounce a little, just enough to engage the shocks travel.
While sitting, carefully reach down and slide the O-ring back up against the wiper seal and smoothly step off of your bike. Try not to engage the shocks travel when dismounting. Then measure the distance between the shocks O-ring and wiper seal. Check the chart below for the appropriate Sag Amount for your Turner model.
Next add or remove air and re-check the measurement of sag using the previous steps until the proper amount of sag is accurately achieved.
Now dial in the rebound adjuster a few clicks at a time while 'bouncing' the bike. When it is visibly slowed down take it for a test ride and re-check the rebound setting. You want to feel the damping control the rebound but not so much that the rear starts to pack down on successive impacts.
Tip: Be sure to write this psi amount down to make it easier to check air pressure in the future.
The amount of front and rear sag effects BB height and handling. Try plus or minus 2mm of shock sag, and plus or minus 5psi in the fork to custom tune your Turner bike.
Check with the fork maker for their suggested sag/pressure settings.
